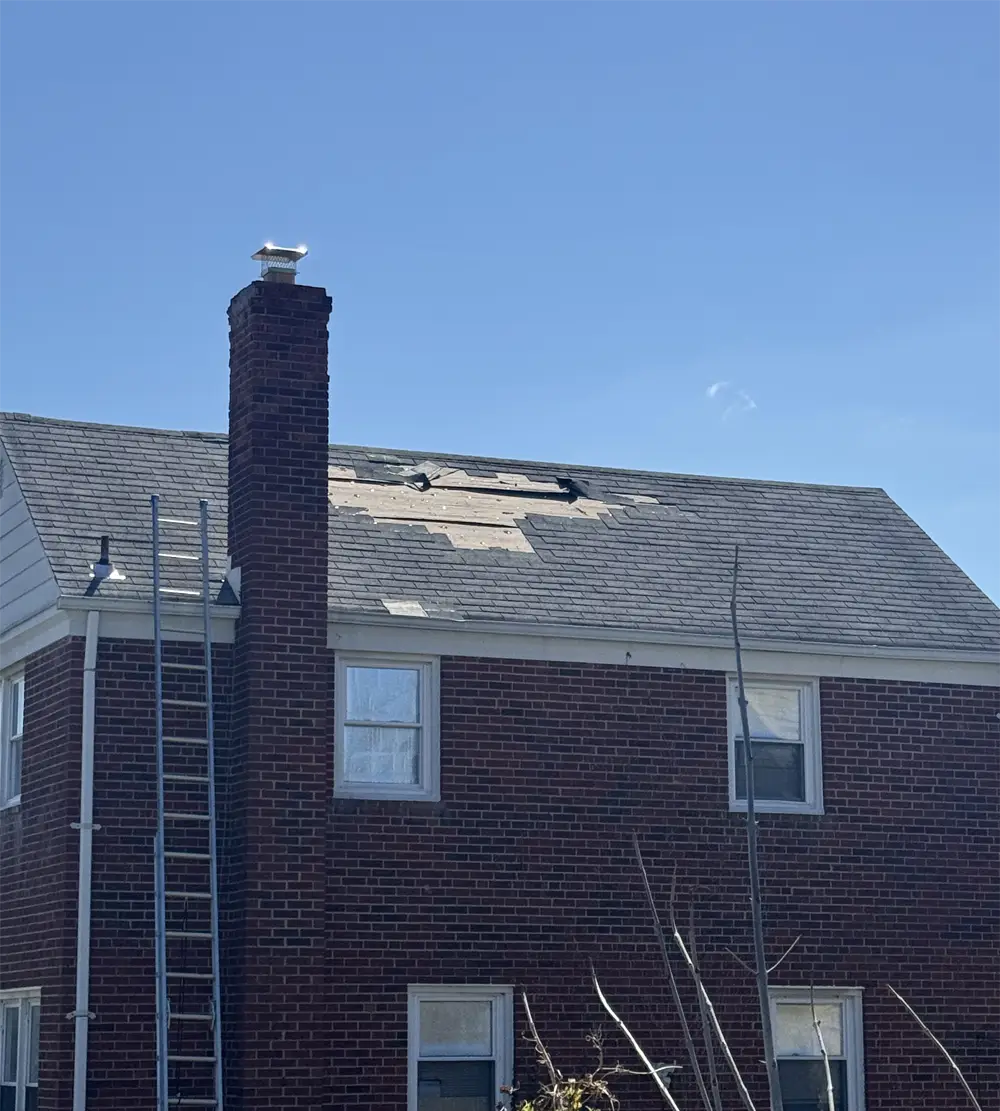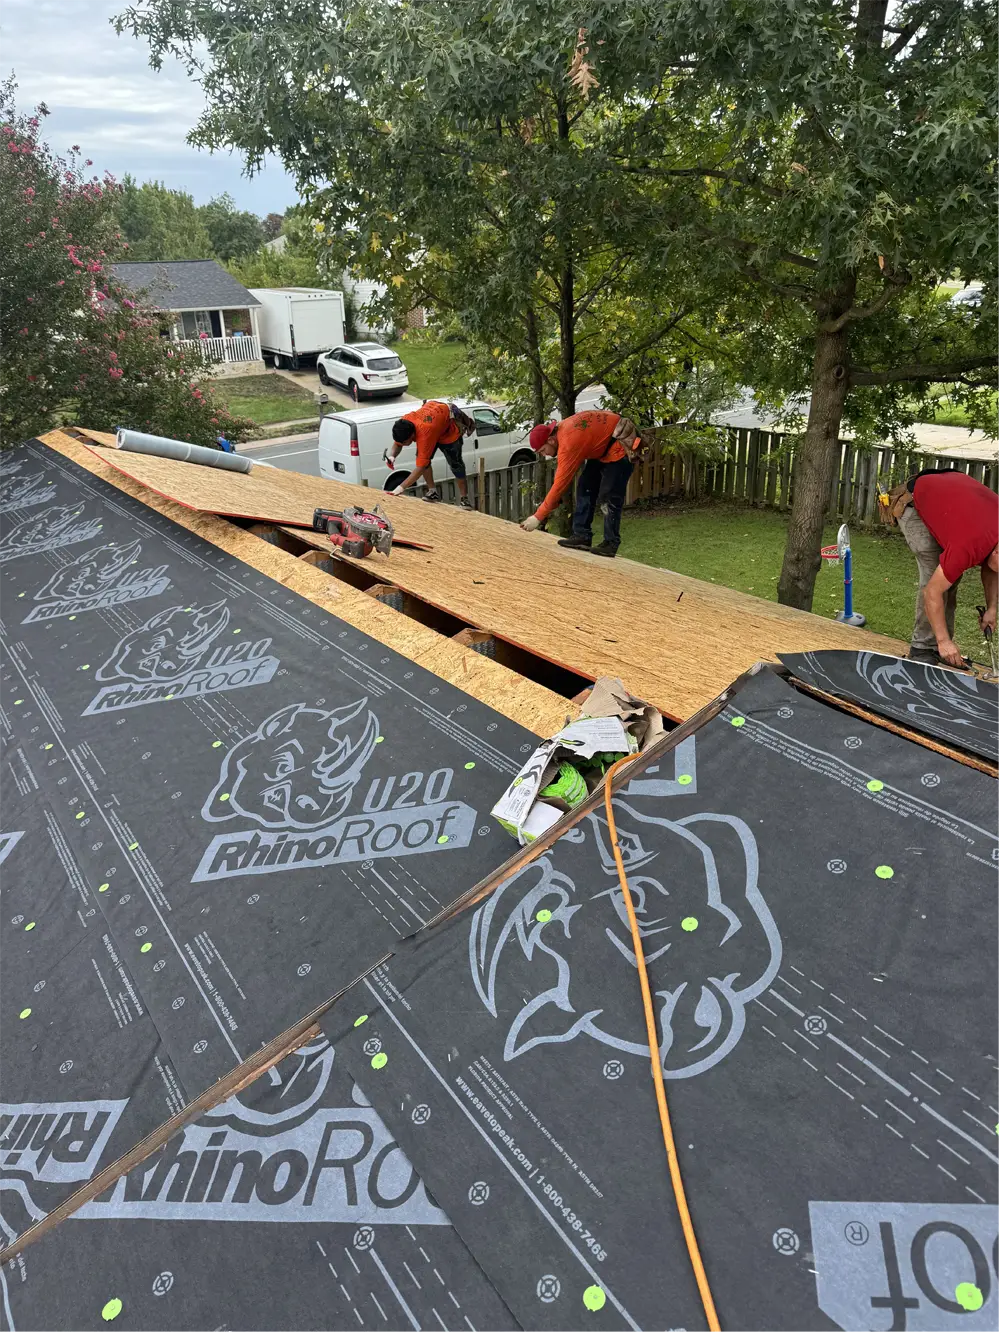

A roof can shed thousands of gallons of rainwater successfully yet still leak through an opening only a few inches wide. At A1 Roofing’s KangaRoof, we frequently trace these localized leaks to pipe boot flashing—the assembly that seals the intersection between a plumbing vent pipe and the roof. On asphalt-shingle roofs in Columbia, MD, this small component must withstand ultraviolet exposure, summer heat, winter freezing, wind-driven rain, and repeated expansion and contraction while remaining watertight.
What Is Pipe Boot Flashing?
Pipe boot flashing, also called roof vent pipe flashing or plumbing vent flashing, surrounds a pipe where it penetrates the roof deck. Its purpose is not simply to “seal a hole.” It must move water around the penetration and return that water safely to the roof’s drainage plane.
A typical pipe boot assembly contains several components:
- Vent pipe: Usually PVC, ABS, or metal extending through the roof.
- Flexible collar: EPDM, neoprene, silicone, or another compatible elastomer fitted closely around the pipe.
- Flashing flange: The broad metal or molded base that spreads beneath and over the surrounding roofing.
- Shingles: Installed in a layered pattern around the flange to preserve downhill drainage.
- Fasteners and sealants: Secondary components used according to the flashing and roofing manufacturer’s installation requirements.
- Underlayment and roof deck: The backup water-control layer and structural substrate beneath the visible roof.
The International Residential Code requirements for roof pipe penetrations specify flashing made from lead, copper, galvanized steel, or an approved elastomeric material and require installation that prevents water entry. The code also states that flashing at a vent terminal must not improperly restrict the vent opening.
Why Roof Vent Pipe Boots Start Leaking
The most common failure occurs at the flexible collar. The pipe passes tightly through this opening, leaving the rubber continuously exposed to sunlight, temperature cycling, moisture, and movement. As the material ages, it can harden, shrink, split, or separate from the pipe.
The flange can fail independently. Corrosion, lifted edges, exposed fasteners, improper shingle placement, or previous applications of roofing cement can create pathways for water beneath the flashing.
Movement also matters. The vent pipe and roof assembly do not remain completely static. Small dimensional changes caused by temperature can repeatedly stress an aging collar. Once a crack develops, rainwater can follow the pipe downward into the attic, making the leak appear far removed from its actual source.
Homeowners who notice moisture around a plumbing stack should have the entire penetration evaluated through a professional roof leak inspection and repair, rather than assuming additional caulk will solve the problem.

Signs Pipe Boot Flashing Needs Attention
A failing roof pipe boot often produces highly localized evidence. We look for:
- Cracks or splits around the rubber collar
- A visible gap between the collar and vent pipe
- Brittle, distorted, or deteriorated rubber
- Rust or corrosion on a metal flashing flange
- Loose, backed-out, or exposed fasteners
- Roofing cement from previous temporary repairs
- Shingles lifting around the penetration
- Water staining on roof decking below the pipe
- Damp insulation or ceiling discoloration
- Repeated leakage during wind-driven rain
The attic can provide critical evidence. Water tracks on the vent pipe or darkened decking immediately around the penetration often distinguish a pipe flashing problem from a broader shingle leak.
Pipe Boot Repair vs. Complete Replacement
Not every pipe boot problem requires the same solution.
A repair may be reasonable when the existing flange remains correctly integrated with the shingles, surrounding roofing is serviceable, the roof deck is dry and solid, and the defect is limited to the collar. Depending on the existing assembly, a compatible retrofit collar may provide a more reliable repair than repeatedly coating deteriorated rubber with sealant.
A complete pipe boot replacement is generally more appropriate when the collar is badly split, the flange is corroded or distorted, fasteners have failed, shingles were installed incorrectly around the flashing, leakage has occurred repeatedly, or water has damaged the materials beneath it.
If several roof components are already deteriorated, isolated flashing work should be evaluated against the condition of the whole system. Our roof repair services address localized defects, while roofs with widespread aging, recurring leaks, or extensive component failure may justify evaluating roof replacement.

How Pipe Boot Flashing Should Integrate With the Roof
Correct installation depends on water-shedding geometry. The flashing flange cannot simply sit on top of finished shingles with sealant around its perimeter. Its upper portion must integrate beneath the upslope roofing so water flowing down the roof remains above the flashing rather than entering behind it.
The lower portion directs that water back onto the exposed roof covering below the pipe. This layered relationship is why excessive surface caulk is not a substitute for proper flashing.
The National Roofing Contractors Association pipe penetration detail demonstrates the same fundamental principle on a slate system: the flashing base, underlayment, roof covering, and penetration must function as an integrated assembly rather than independent layers. Exact installation details vary by roofing material and flashing manufacturer.

What Happens During Pipe Boot Flashing Replacement?
Professional replacement starts by removing enough surrounding roofing to expose the flashing without unnecessarily damaging adjacent shingles. We then inspect the roof deck, underlayment, vent pipe, and surrounding materials for hidden moisture deterioration.
The replacement boot must match the pipe diameter and be compatible with the roofing system. The flange is positioned so upslope water flows over—not behind—the assembly. Roofing is then reintegrated around the flange, fastening points are protected according to installation requirements, and the collar is checked for a secure fit around the pipe.
Before completing the repair, the area should also be inspected from below whenever attic access allows. Replacing the visible boot without addressing wet decking, compromised underlayment, or damaged insulation can leave part of the original problem unresolved.

CONCLUSION
Pipe boot flashing is one of the smallest roof components but one of the most important penetration details. A cracked collar, improperly lapped flange, or exposed fastener can bypass otherwise sound shingles and deliver water directly into the roof assembly. For Columbia, MD homeowners, A1 Roofing’s KangaRoof can determine whether the problem calls for a targeted pipe boot repair, complete flashing replacement, or broader roofing work. To have a leaking or deteriorated penetration evaluated, contact our roofing team before moisture spreads into the decking, insulation, or interior finishes.
Timestamps:
00:00 Introduction to Roof Leaks and Repairs
00:07 Introducing the Lifetime Ultimate Pipe Flash
00:13 Why Ordinary Pipe Flashes Fail
00:19 Features of the Lifetime Ultimate Pipe Flash
00:41 A1 Roofing’s Comprehensive Services
01:02 How to Get Started with A1 Roofing
01:19 Conclusion and Final Thoughts
FAQ
How long does pipe boot flashing last?
There is no universal lifespan because durability depends on the flashing material, exposure, roof temperature, installation quality, vent-pipe movement, and surrounding roofing. The rubber collar on a conventional boot may deteriorate before the shingles around it, which is why penetrations should be checked during routine roof inspections.
Can a leaking pipe boot be repaired without replacing it?
Sometimes. If the flange, shingles, deck, and surrounding flashing remain sound, a compatible retrofit collar or targeted repair may be appropriate. A split boot combined with corrosion, poor flashing integration, or repeated leakage generally makes full replacement the more reliable solution.
Why is my roof leaking around the plumbing vent pipe?
Common causes include a cracked rubber collar, separation between the pipe and boot, corroded flashing, loose fasteners, incorrect shingle lapping, or failed previous sealant repairs. The penetration and surrounding roof assembly should be inspected together because water can travel beneath roofing materials before becoming visible indoors.