
Ensuring that your roof remains watertight and free from leaks is crucial, especially around vent pipes. Proper installation of flashing around these pipes is essential to prevent water infiltration. Here’s a step-by-step guide to help you achieve a flawless installation.
1. Preparing the Area
Before you begin, it’s essential to prepare the area. Start by gently removing the shingles surrounding the vent pipe. This will give you clear access to the pipe and the surrounding roof area. As you do this, make sure to clean any old caulk or debris from the pipe’s exterior. This ensures a smooth surface for the new flashing.
2. Underlayment Installation
The next step involves installing an underlayment. We recommend using an Ice and Water shield, especially around penetrations. This type of underlayment has a unique rubbery texture that wraps securely around each nail, effectively preventing any water from seeping through.
3. Applying Roof Cement
To further ensure a watertight seal, apply a thin line of roof cement to the bottom of the aluminum base. This step is crucial as it prevents water from entering through the sides of the flashing. At Kanga Roof, we always emphasize the importance of this step to our clients seeking roof repair service in Columbia MD.
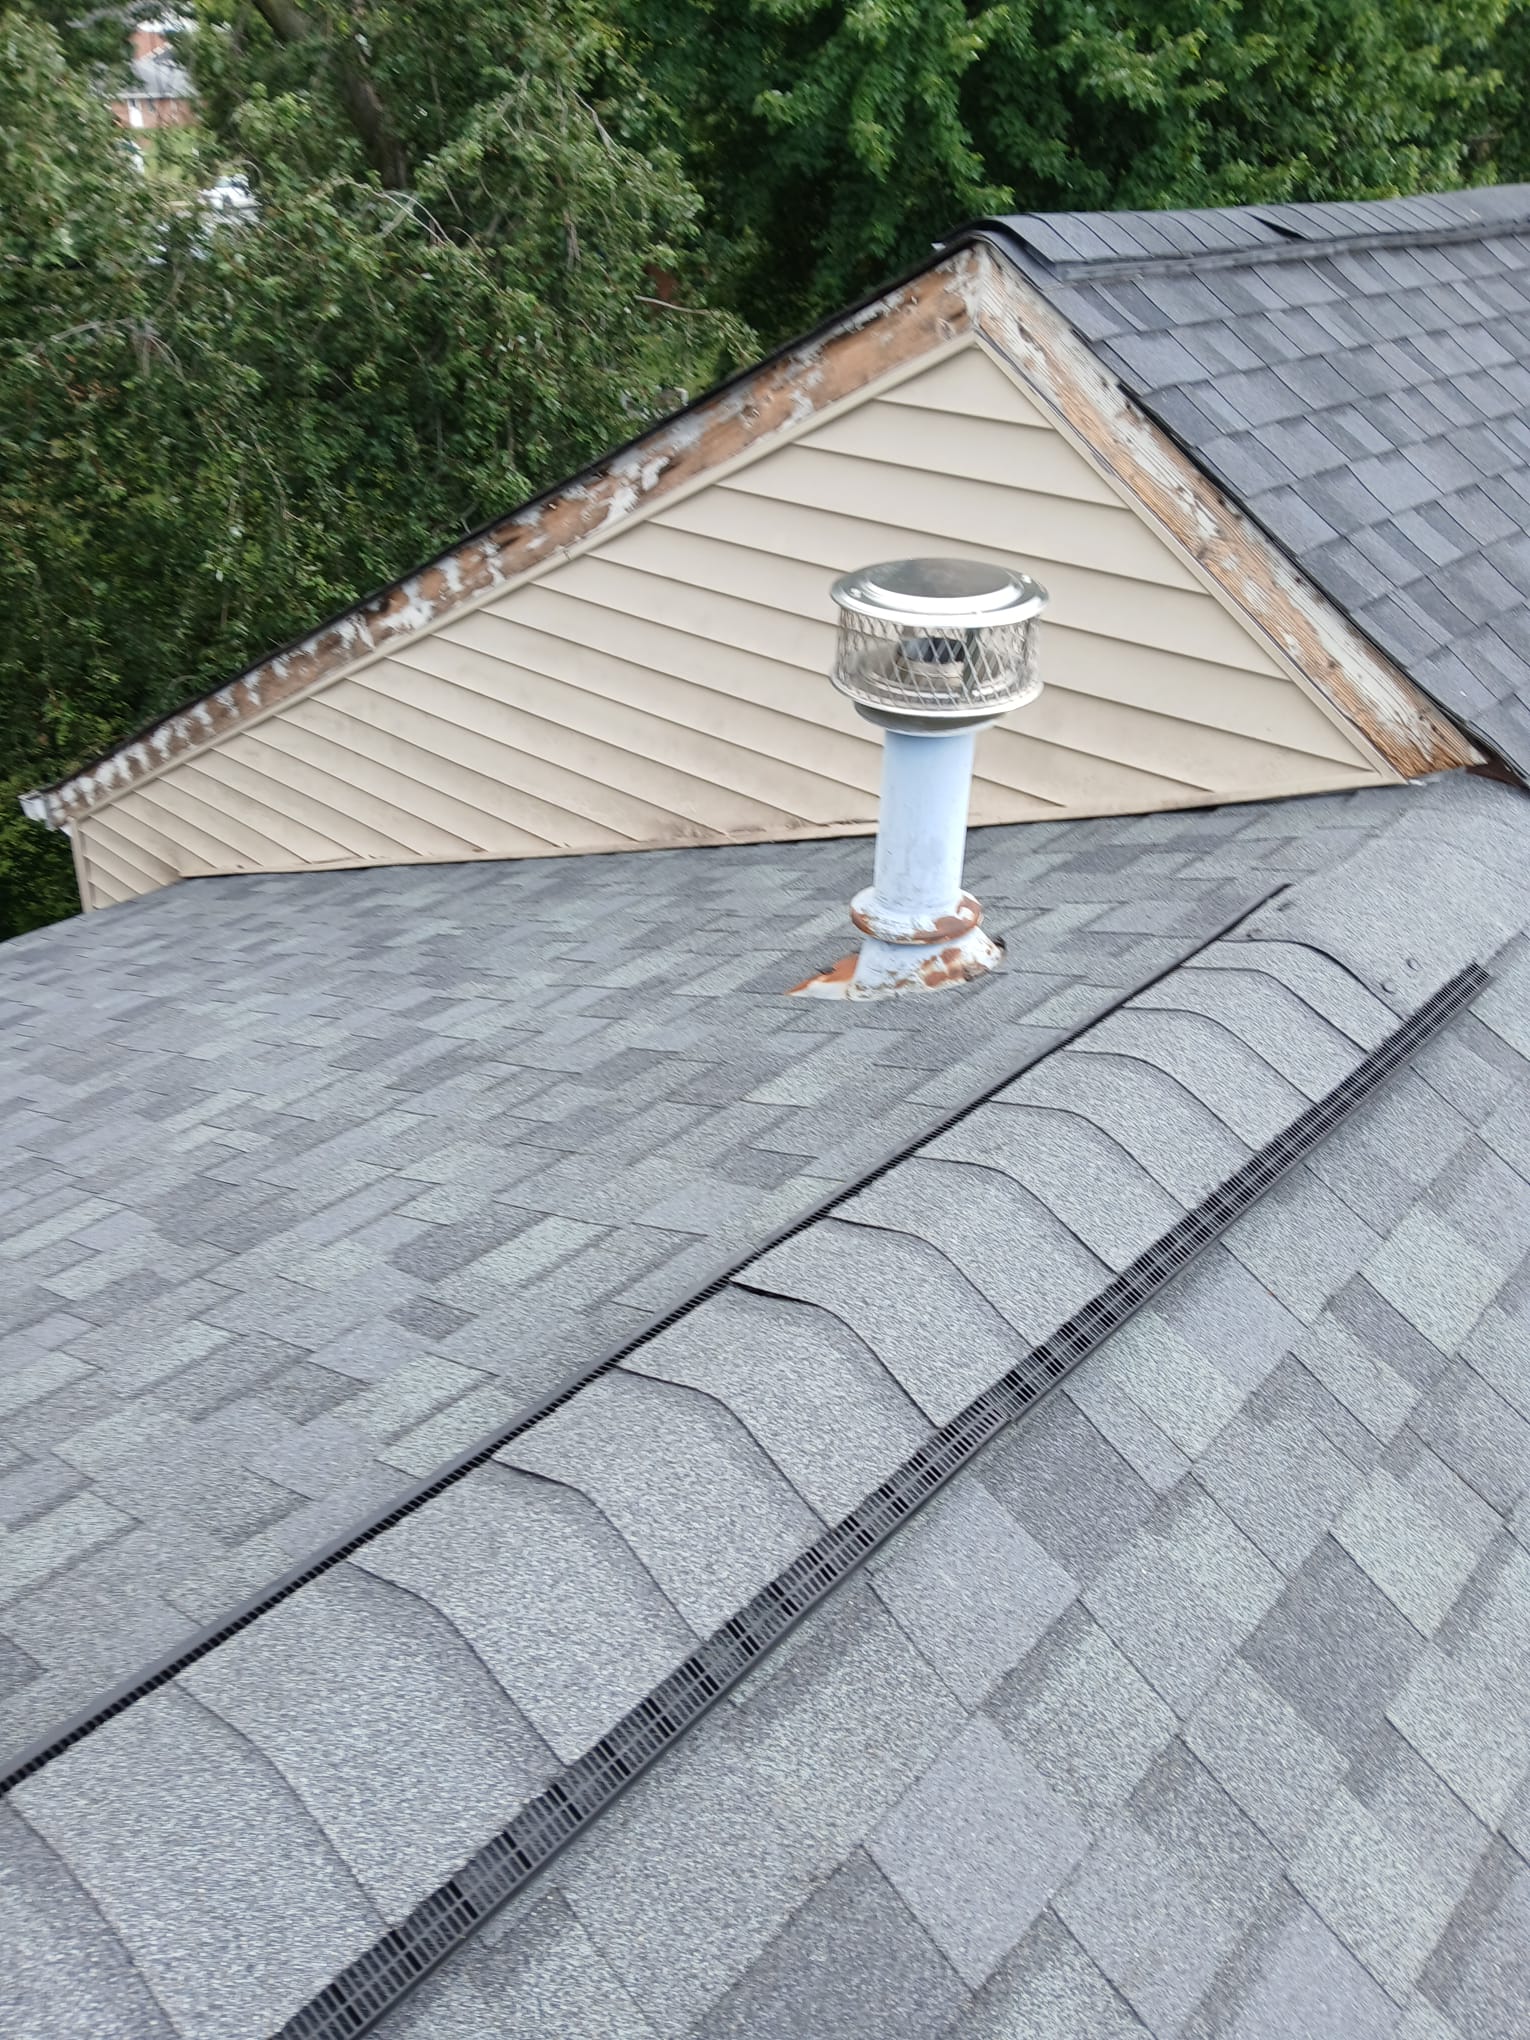
4. Setting the Pipe Flashing
Now, it’s time to place the flashing onto the pipe. As you do this, ensure that the pipe remains stationary to prevent the rubber gasket from being displaced. Once in place, nail the flashing at points least likely to come into contact with water. Typically, this means nailing at the top corners and along the bottom. After nailing, seal these points with caulk for added protection.
5. Shingle Placement
With the flashing securely in place, you can now cut and position your shingles. Ensure that you cut them with precision, leaving a minimum of half an inch clearance around the flashing base. While the bottom of the flashing should remain exposed, the sides and top should be covered by the shingles. If you notice any splits in the shingles near the flashing edge, seal them with caulk.
Additional Tips
For those looking to extend the lifespan of their pipe collar, consider installing an extra rubber gasket over the new pipe flashing. This added layer provides extra protection against the elements. Caulking around the top of the gasket can also enhance its effectiveness. For aesthetic purposes, painting both the pipe and flashing can offer a uniform look, ensuring that the pipes blend seamlessly with the rest of the roof.
Why Choose Kanga Roof?
When it comes to roofing in Columbia MD, Kanga Roof stands out as a trusted name. With years of experience and a commitment to excellence, we ensure that every roofing task, be it a simple repair or a complete roof replacement in Columbia MD, is executed with precision and professionalism. If you’re searching for a reliable roofing company in Columbia MD, look no further than Kanga Roof.


