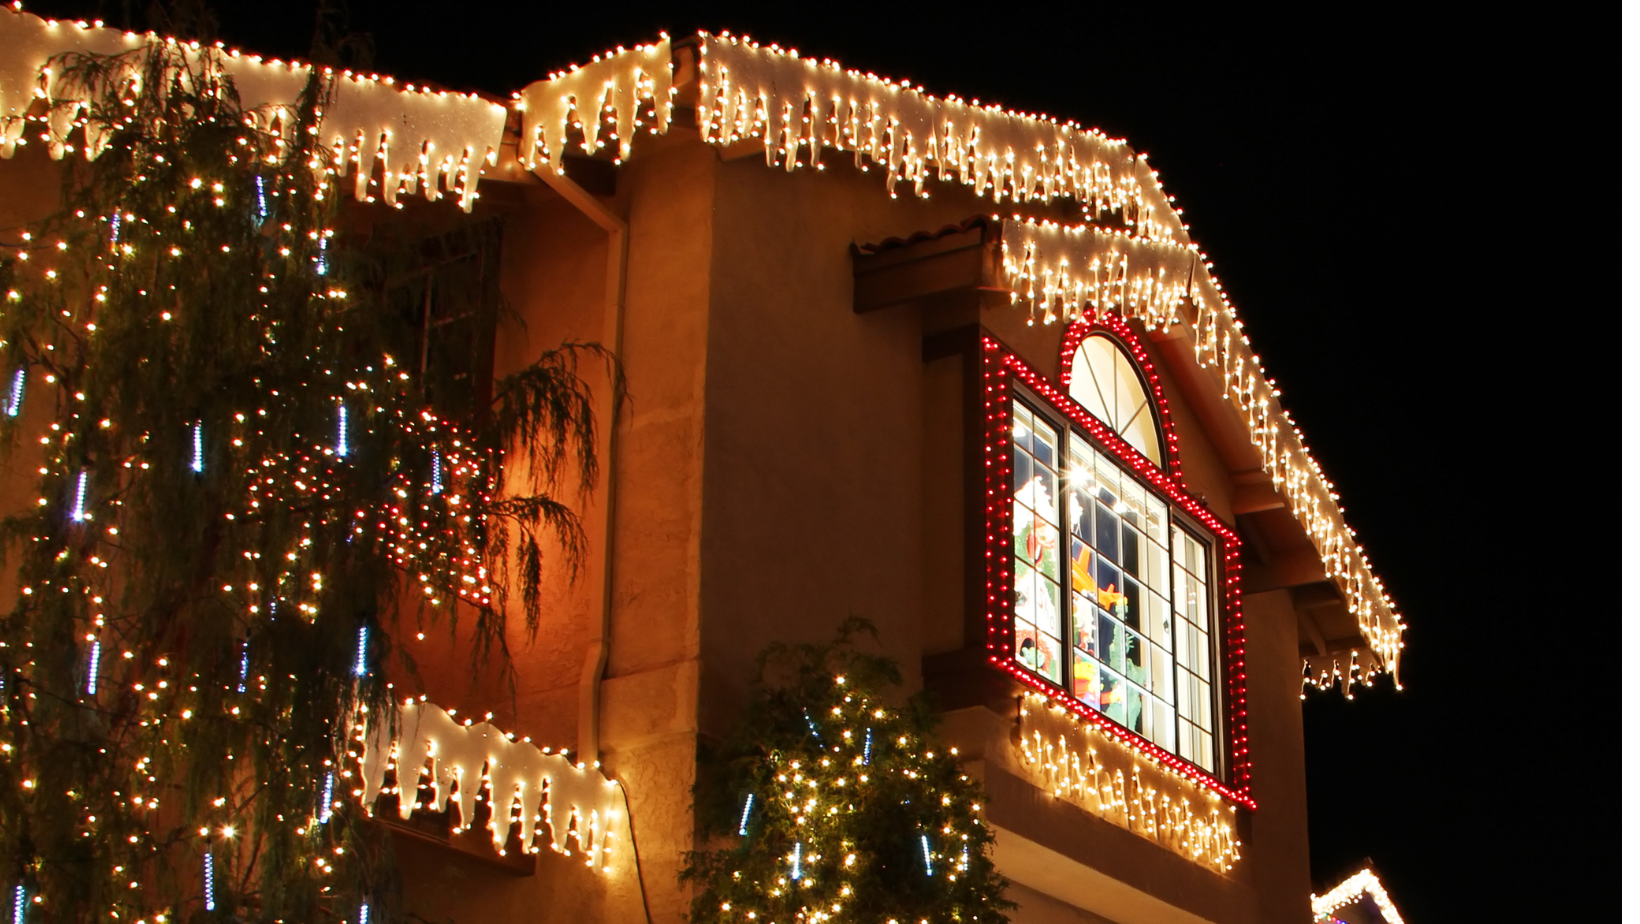
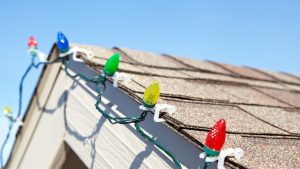
If you’re looking to make your home extra special this holiday season, hanging Christmas lights on your roof might be just the thing! It can be a fun project for the whole family, it will also make your home extra special when your family and neighborhood drive by.
You can hang lights on just about any part of your home, but if you have a flat or gently sloping roof then it’s really easy to do.
It is important to know how to hang Christmas lights properly, so we have put together this guide for you.
Installation and Design.
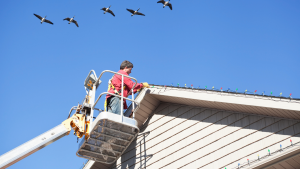
Christmas lights are a great way to decorate your home for the holidays, but hanging them on a roof can be tricky. Hiring a professional roofer is recommended, but if that isn’t an option, try these tips to get the job done safely:
- Safety first!
Safety is key when working with electricity or high places.
-
- Make sure you are wearing gloves and reliable footwear before starting.
- Be sure to turn off any power at the circuit breaker before working on wiring, and never attempt electrical work yourself unless you know what you’re doing. Only hire a licensed electrician!
- Check with local building codes before hanging any decorations from your roof—some locations don’t allow it at all!
- If possible, try to avoid hanging lights over doorways or windows so that people can see out.
2. Use the right tools.
-
- Harness. Something that goes around your waist and helps keep you stable while you’re working from a ladder.
- Helmet or hard hat, protective headgear that is made of metal or plastic and covers your entire head.
- A ladder that is tall enough to reach your roof or eaves trim, an extension cord long enough to reach from ground level up onto the roof, and some sort of hook or clamp that can be used as an anchor point after reaching the top of the ladder.
- If you’re going up near trees or other obstacles within reach of where you’ll be working on your roof, bring along some rope so that they can be tied off while still providing access to those areas without fear of them moving around too much during installation work.
Preparing Your Roof.
Let’s get started by preparing your roof. Make sure that your roof is empty of pets or children before beginning this process—you want them to be safely inside watching Christmas movies with an adult in case something goes wrong!
- Remove any debris from the roof.
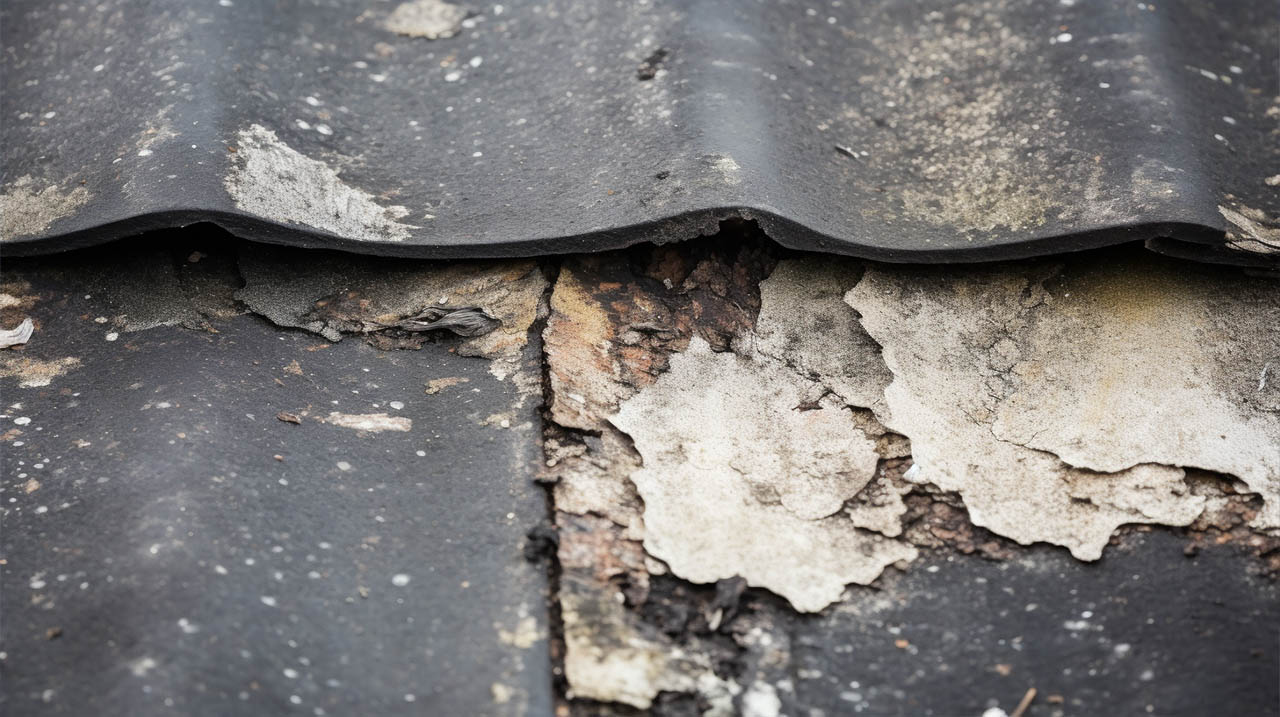
If you have loose shingles on your roof, secure them before you start hanging your lights.
Start hanging.
To start hanging your Christmas lights on the roof:
- First, turn off the power to your house.
- Set up a ladder in front of your house so that it’s close enough to the roof to reach it comfortably.
- Stand on top of the ladder and lift up one end at a time, then place it directly above your head on the roof. Try not to let go until you have both feet firmly planted on the ground again.
- Once you’re sure that your ladder is secure on top of the roof, climb out onto it and make sure that there are no loose or missing shingles anywhere in sight before proceeding further with your project! If you find any problems, fix them before moving forward with installation!
- At all times, always be safe on the ladder.
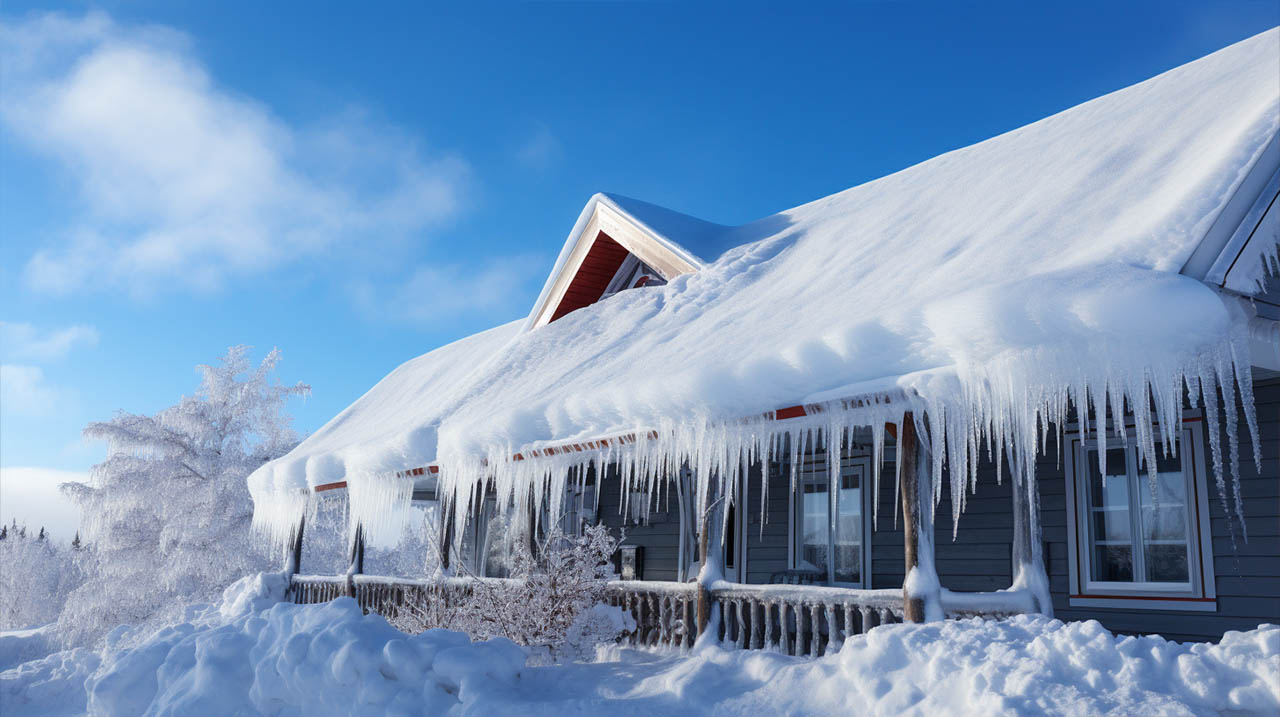
- If working on top of a ladder is too dangerous for you or if you don’t have one handy, consider using an adjustable rope harness to secure yourself while on the roof. This will allow you to move freely while up there. If it’s slippery out—or if there’s ice underfoot—you may want to use an anchor system so that when you step off the ladder, it doesn’t slide away from where it’s supposed to be.
- Stretch one arm upwards into space until contact has been made with an overhead power line running across from pole-to-pole overhead; once located within reach of this wire run down its length until reaching its source point at ground level where it connects to various electrical outlets positioned throughout the town, including those found on each home’s exterior wall adjacent outside doors leading into the kitchen.
- Cut your plastic hooks to size. Make sure that all ends are smooth and rounded off. If there are any sharpness or rough edges left over from cutting, file them down until they’re perfectly smooth, since this will make it easier for you to screw them into place on the top of your house without damaging anything else or hurting yourself accidentally.
- Once you’re done with your first circuit of lights, work your way around the rest of your home and repeat all steps until you’ve reached a power source for your lights! You can also hire a professional to install your Christmas lights.
Christmas is a fun time of year for everyone. Kids enjoy the excitement of Santa coming to town, parents love seeing their children’s happiness, and families get to spend more bonding time together. The holiday season brings out plenty of good vibes so why not share them with the world? It’s an easy way to brighten up your neighbors’ evenings and make them smile. It’s also a great way to show off your holiday spirit!
FREE Roof REPAIR vs. REPLACEMENT Quiz here!
It will help you make a wise decision on what to do in reference to your roof.
A-1 Roofing’s Kangaroof offers a comprehensive service and a fair price.
- Purchase a roof inspection for $200 along with a written report.
- Receive a $20,000 Guarantee when we do a roof replacement for you.
- Learn about our cost-effective Roofing Systems for your home.
Call us at 410-799-1600 today if you have any questions about your roof or need to schedule an inspection.