
Roofs are an integral part of any building, protecting it from external elements and ensuring the safety of its occupants. Whether you’re a homeowner looking to embark on a DIY roofing project or a professional aiming to provide accurate estimates, understanding how to measure a roof is crucial. In this guide, we’ll walk you through the detailed steps to measure a roof accurately, ensuring you have the right amount of materials for your project.
Step 1: Begin with Ground Measurements
Start by measuring the perimeter of your building. Using a measuring tape, determine the length of the walls, including any overhangs. This will give you a rough idea of the total roof area. Remember, it’s always safer to measure from the ground, especially if you’re not familiar with working at heights.
Step 2: Understanding Roof Pitch
The pitch, or slope, of a roof is a critical factor in determining its total area. The pitch is typically described in terms of rise over a 12-inch run. For instance, a 7 in 12 pitch means for every 12 inches horizontally (run), the roof rises 7 inches. It’s essential to get this measurement right, as it impacts the amount of roofing material required.
Step 3: Calculate the Roof’s Square Footage
Once you have the pitch and the ground measurements, you can calculate the roof’s square footage. Multiply the length by the width of your building, then adjust this figure based on the pitch. For instance, if your building measures 46 feet by 25 feet, the base area is 1,150 square feet. If the pitch is 7 in 12, the adjusted area becomes approximately 1,331.7 square feet.
Step 4: Estimating Material Requirements
Roofing materials are often sold by the square, where one square covers 100 square feet. To determine how many squares you’ll need, divide your total roof area by 100. For our example, 1,331.7 divided by 100 gives us about 13.3 squares. It’s always a good idea to round up to ensure you have enough materials, so in this case, you’d need 14 squares.
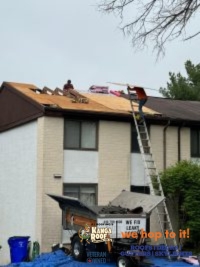
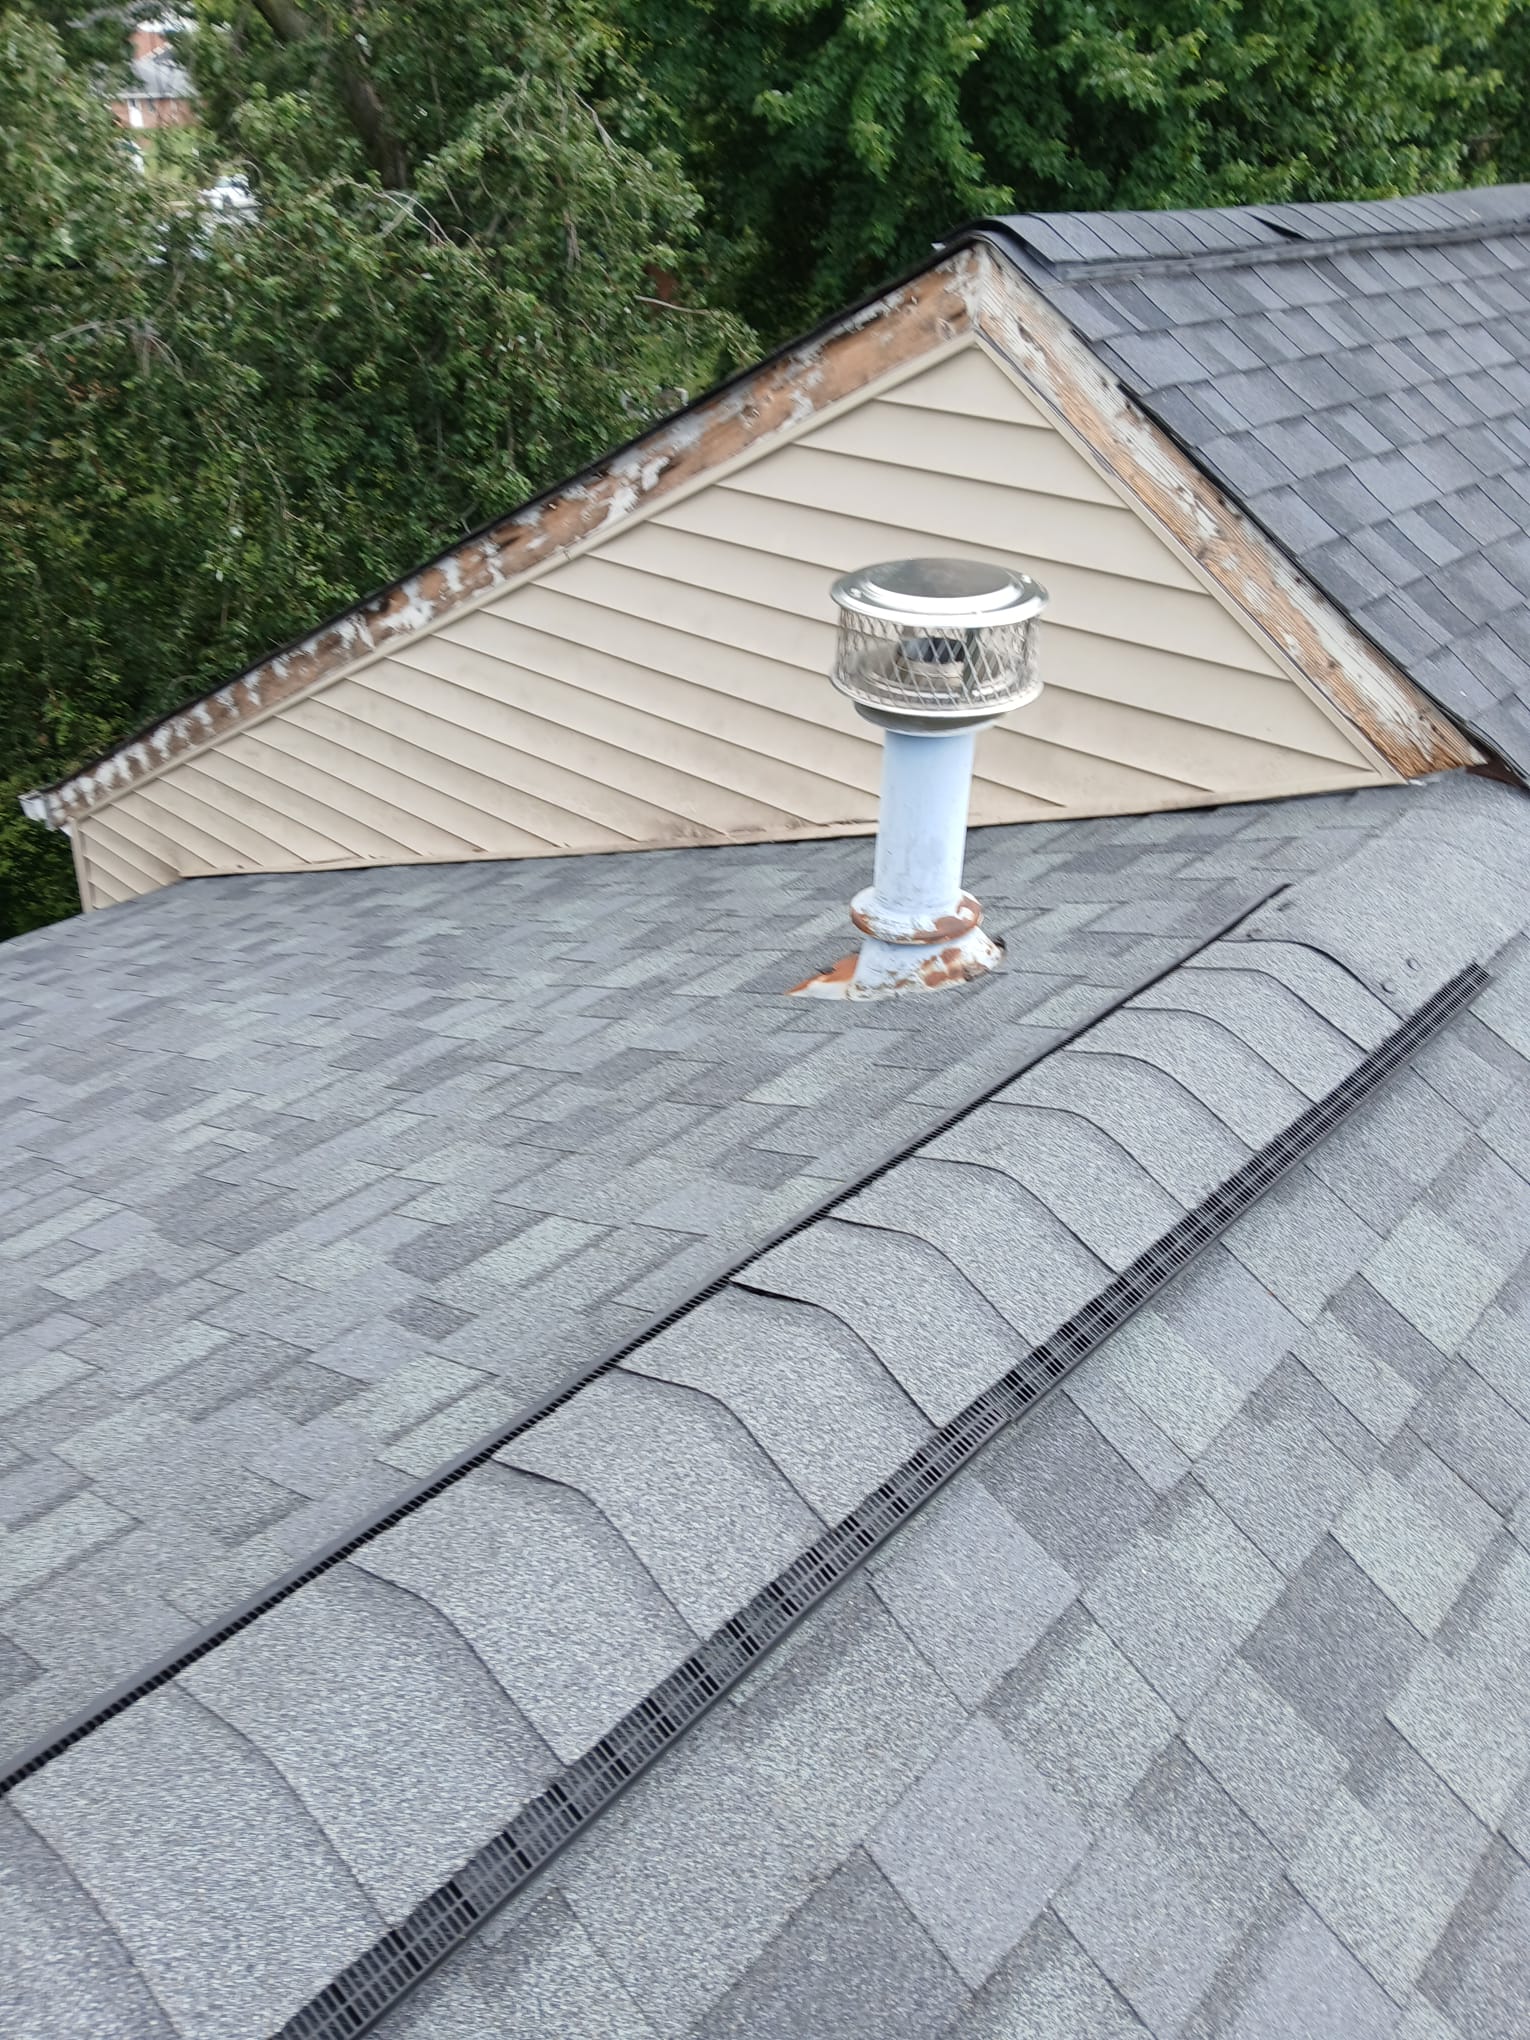
Step 5: Diagramming the Roof
Creating a detailed diagram of your roof can be immensely helpful. Access your roof (safely!) and measure each section, noting down the dimensions. Whether you have a flat or sloped roof, breaking it down into smaller, geometric sections can simplify calculations.
Step 6: Calculating Areas of Different Sections
For rectangular sections, multiply the length by the width. For triangular sections, use the formula: 0.5 x base x height. Sum up the areas of all sections to get the total roof area.
Step 7: Finalizing Material Estimates
Once you have the total square footage, divide by 100 to determine the number of squares required. This will give you a clear idea of the roofing materials needed for your project.
In Conclusion
Measuring a roof might seem daunting initially, but with the right approach, it becomes a straightforward task. Accurate measurements ensure that you purchase the right amount of materials, preventing wastage and unnecessary expenses. Whether you’re working with A1 KangaRoof, a renowned roofing company in Columbia MD, or embarking on a DIY journey, understanding your roof’s dimensions is the first step to a successful roofing project. Remember, every shingle counts, and with precise measurements, you’re well on your way to a perfectly covered roof.


