Roofing remains an essential facet of every residence, acting as the primary defense against the elements. Over the years, various environmental elements and general usage can lead to roof shingles’ degradation. Addressing visible broken roof shingles promptly is not only crucial for aesthetic appeal, but also to ensure a home’s safety and structural integrity. In this detailed guide, we, at Kanga Roof, provide homeowners in Columbia, Maryland, with an overview of the steps to take when confronted with broken roof shingles.
Understanding the Importance of Roof Shingles
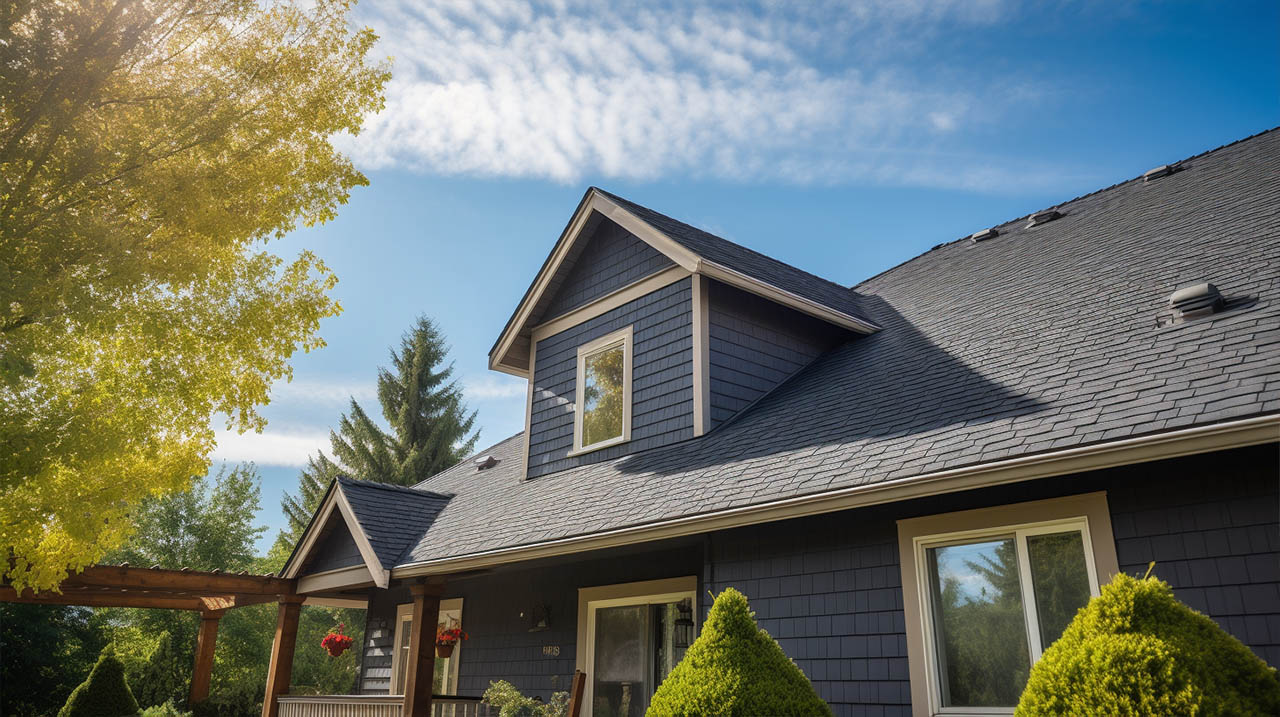
Roof shingles are more than just an aesthetic element. Their roles include:
- Protection: They act as a barrier against harmful elements such as rain, wind, and UV rays.
- Insulation: Shingles contribute to the insulation capabilities of a home, maintaining comfortable indoor temperatures.
- Enhanced Appearance: They elevate the overall look and design of your residence.
How to Spot Visible Broken Shingles
Key Indicators
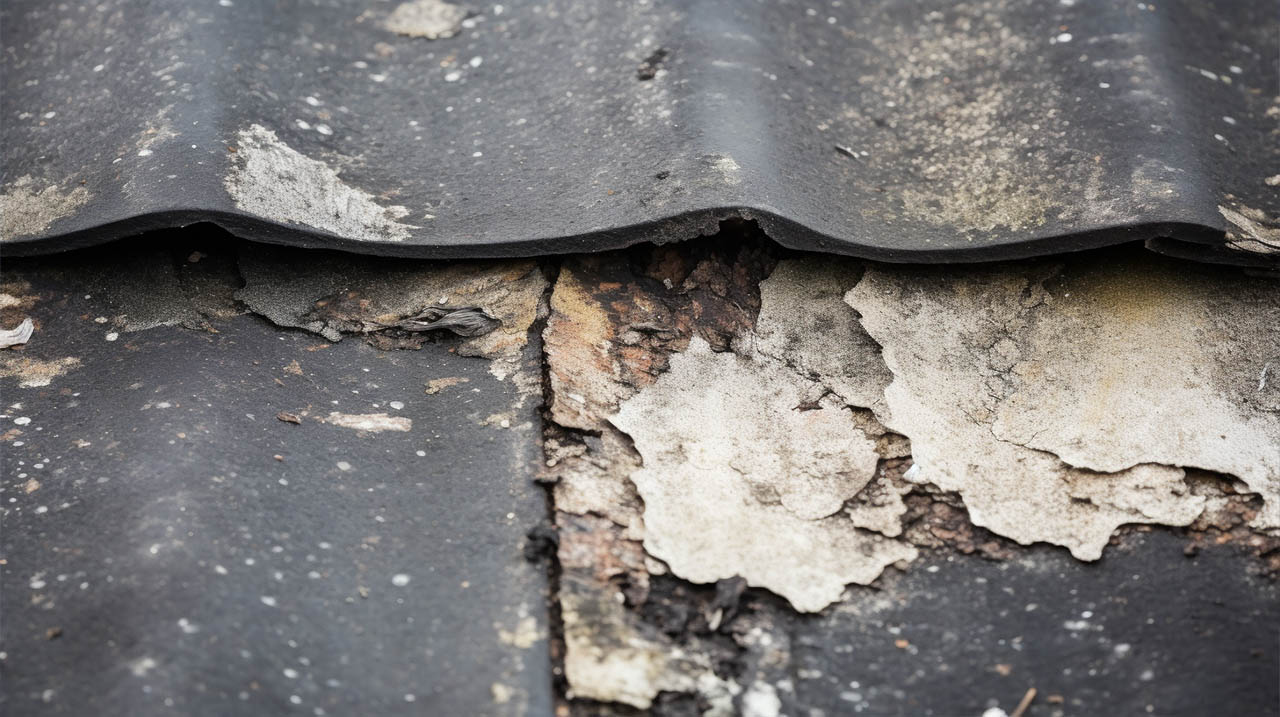
- Missing Shingles: Obvious gaps that expose the underlying material.
- Curling Edges: A telltale sign of a shingle approaching its lifespan’s end.
- Granule Loss: Areas devoid of granules can compromise the protective nature of the shingle.
- Physical Damage: Visible cracks or breaks that can lead to potential leaks.
Essential Tools for Inspection
- Ladder
- Safety harness
- Binoculars
- Notepad and pen
Navigating the Repair of Broken Roof Shingles
Step 1: Prioritize Safety
Before embarking on any repair, ensure you’re equipped with the right safety gear. If in doubt, consider reaching out to roofing companies in Columbia, MD, such as Kanga Roof, for professional assistance.
Step 2: Gauge the Extent of Damage
Utilizing binoculars can help assess damaged areas from a safe distance. Document the location of each broken shingle for future reference.
Step 3: Map Out the Repair Strategy
- Isolated Shingle Damage: These can be individually replaced.
- Widespread Damage: It might be time to consult a roofer in Columbia, MD.
Step 4: Assemble Required Materials
For a standard repair:
- Replacement shingles
- Roofing nails
- Roofing sealant
- Pry bar
Step 5: Commence Shingle Replacement
- Gently remove the affected shingle using the pry bar.
- Align the new shingle appropriately.
- Secure the shingle with nails.
- Seal around nails with roofing sealant for reinforced protection.
Step 6: Survey Adjacent Regions
Ensure other sections of the roof remain intact. The repaired areas should be perfectly sealed to prevent future issues.
Step 7: Seek Expertise When Needed
If there’s any uncertainty regarding the repair quality, it’s wise to consult with roofing experts, like Kanga Roof, for advice and to assess if comprehensive repairs or replacements are warranted.
Ensuring Roof Longevity Through Maintenance
To prolong the health of your roof:
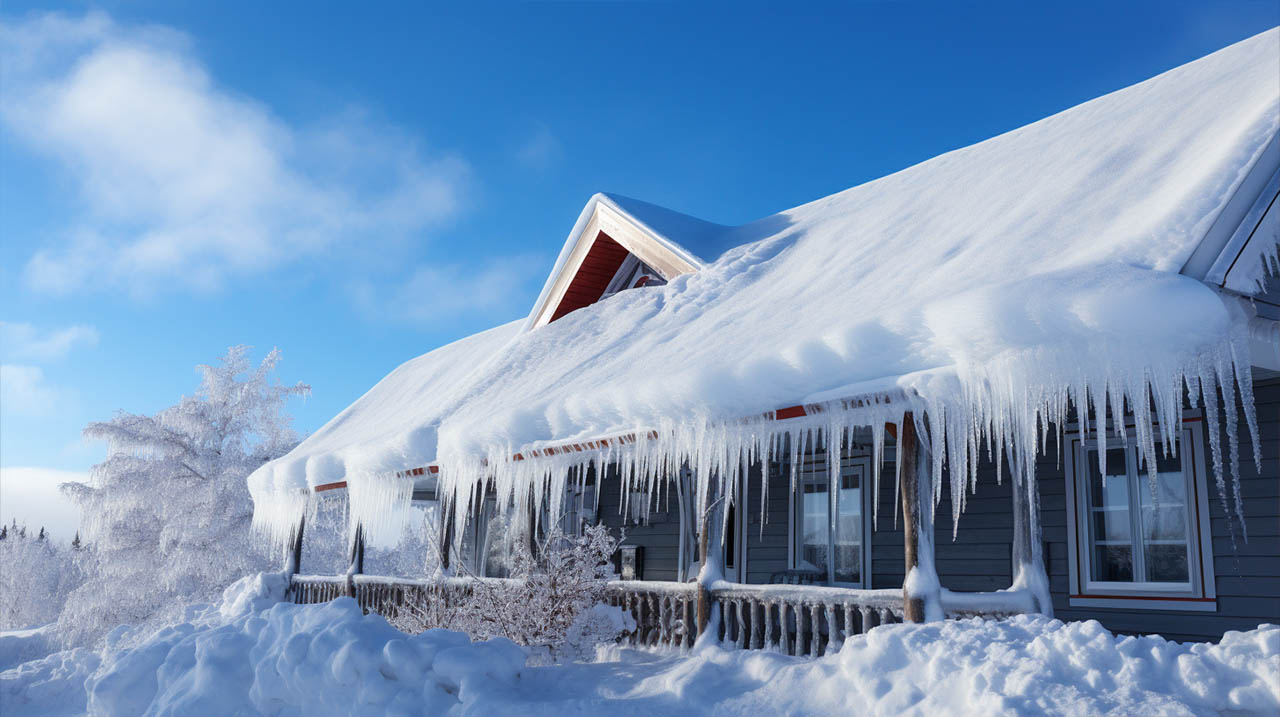
- Routine Inspections: Ideally twice annually.
- Gutter Cleaning: Prevent water buildup and potential ice dams.
- Prune Overhanging Foliage: Minimize damage risks from falling branches or debris.
Wrapping Up
Acting swiftly when it comes to broken roof shingles ensures the long-lasting protection and beauty of your home. By adhering to the steps highlighted above and incorporating regular maintenance, homeowners can maximize their roof’s lifespan and preserve their home’s integrity. When in doubt, trust roofing companies in Columbia, MD, for unparalleled expertise.